How to Use Individual Planning Pages
Having an entire planner with monthly, weekly, and daily pages ever feel like too much? Individual planning pages may be perfect for you. Having a single planning page allows you to focus on the type of planning that works best for your particular needs. The Dash Planner shop offers a collection of printable organizers and planning pages that can be used digitally on your iPad or computer. You can also print the pages and fill them out with your favorite stationery supplies. These templates offer the flexibility to find which method works best for your personal planning style. This article goes over three different ways you can use the individual planning pages.
For demonstration, this post will be featuring the Weekly Planning Pages in portrait and landscape.
On an iPad
Use with a PDF-annotating app
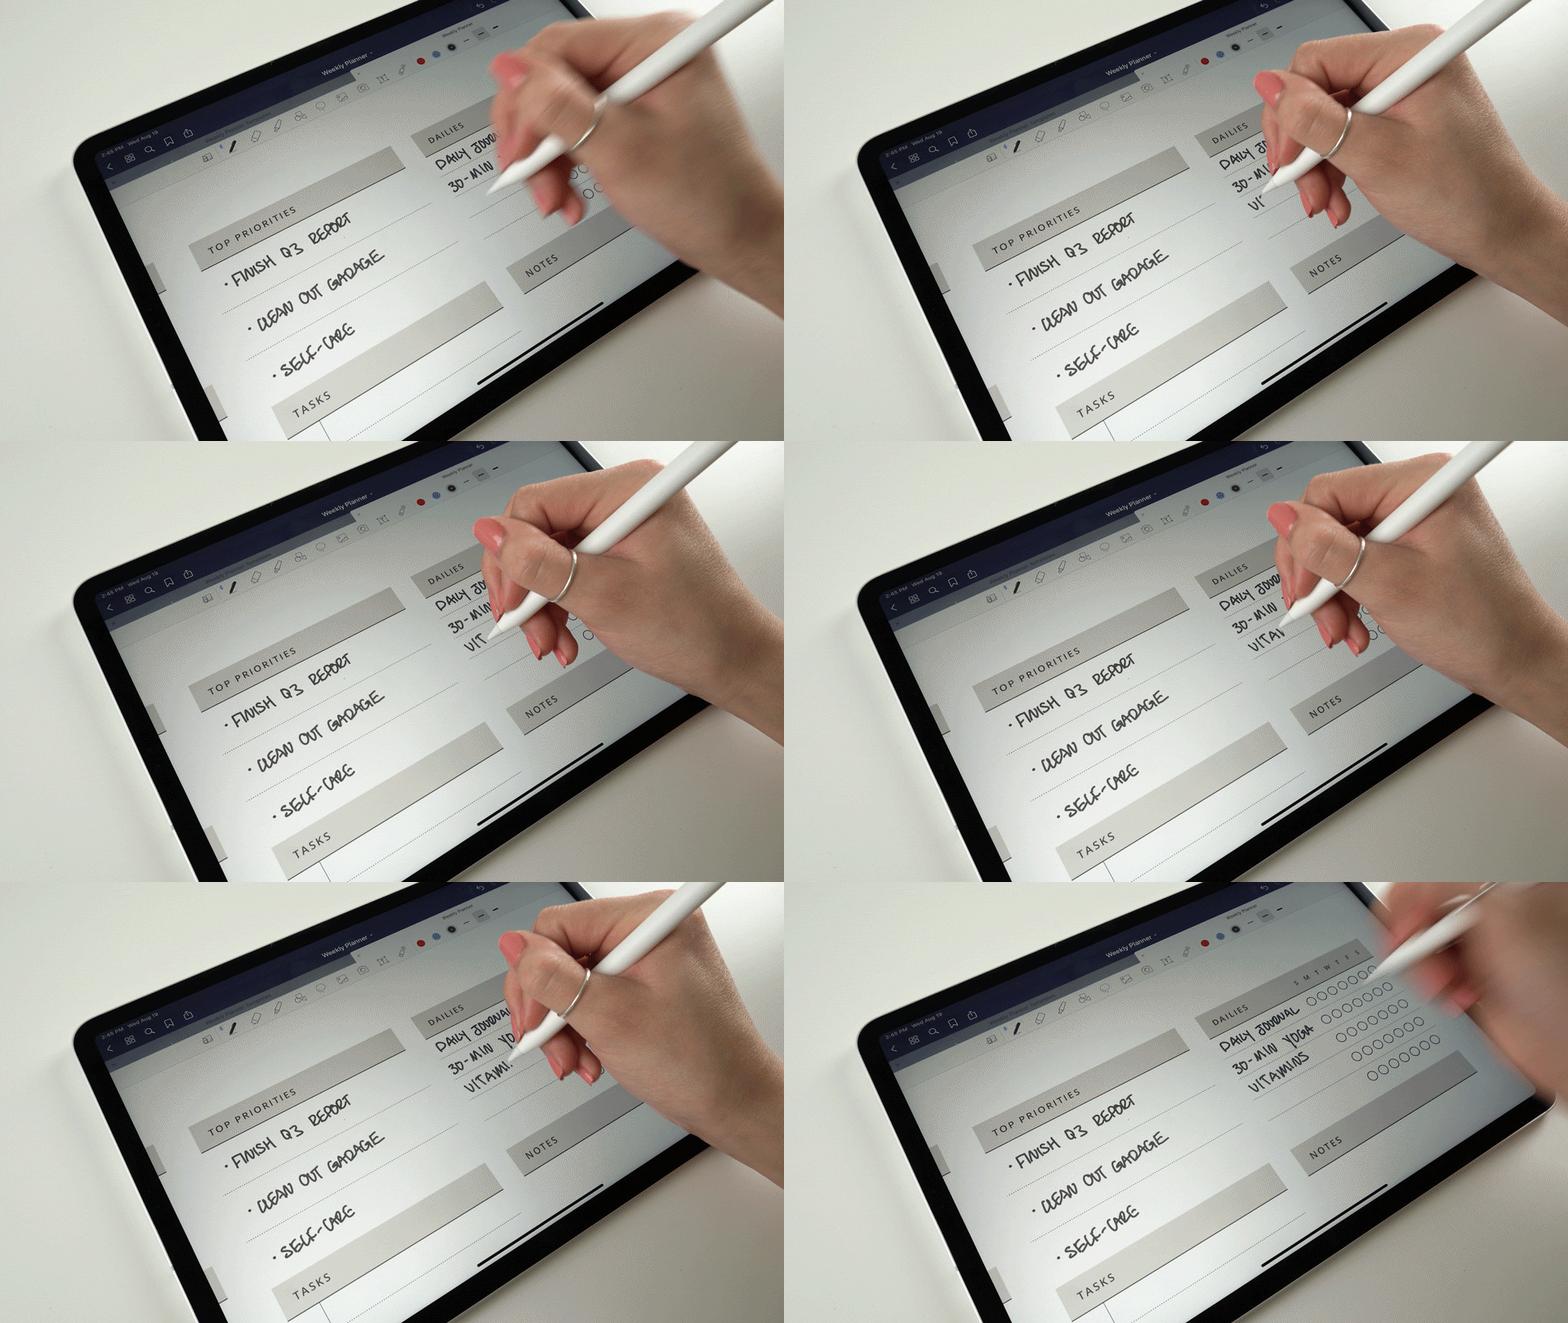
The most popular way to use the planning pages is to fill them out digitally with a PDF-annotating app on an iPad or tablet. This method allows you to quickly use the pages with your stylus or connected keyboard. This is my personal favorite way to use the pages. I love that I am able to customize the page with the pen and highlighter tool, as well as add custom text and digital stickers if I choose to do so. I also love that I can copy and paste over any reoccurring tasks or notes, page after page.
Some ways to fill out and customize the pages:
Handwrite
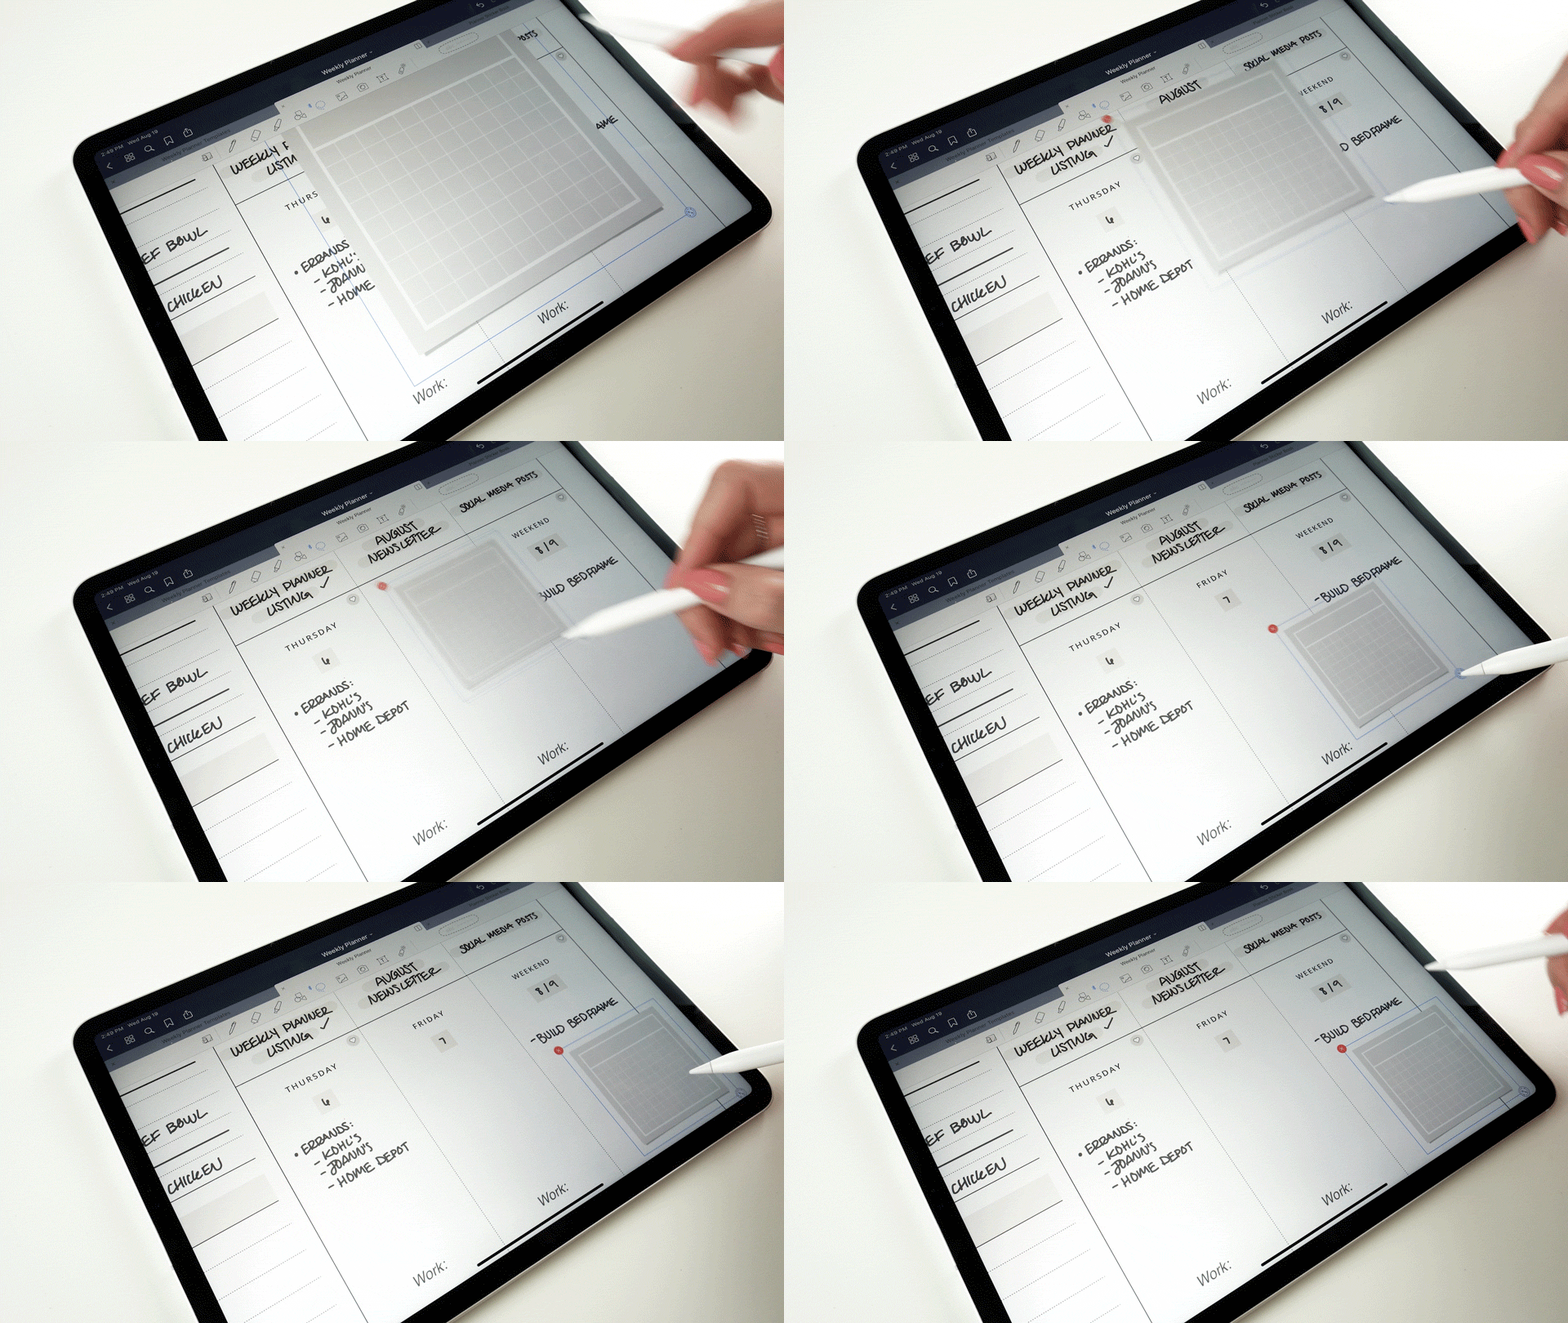
Use your Apple Pencil or stylus write in with Pen or Highlighter. Try changing the color of these tools to color-code your notes by subject or urgency. You can use the Lasso tool to select groups of notes to copy or move them around as needed.
Digital Stickers
You can use digital stickers to add function or decoration to the page. Digital stickers are a great way to add extra notes or comments to your page. They also add visual interest and can help you express come creativity.
Text Tool
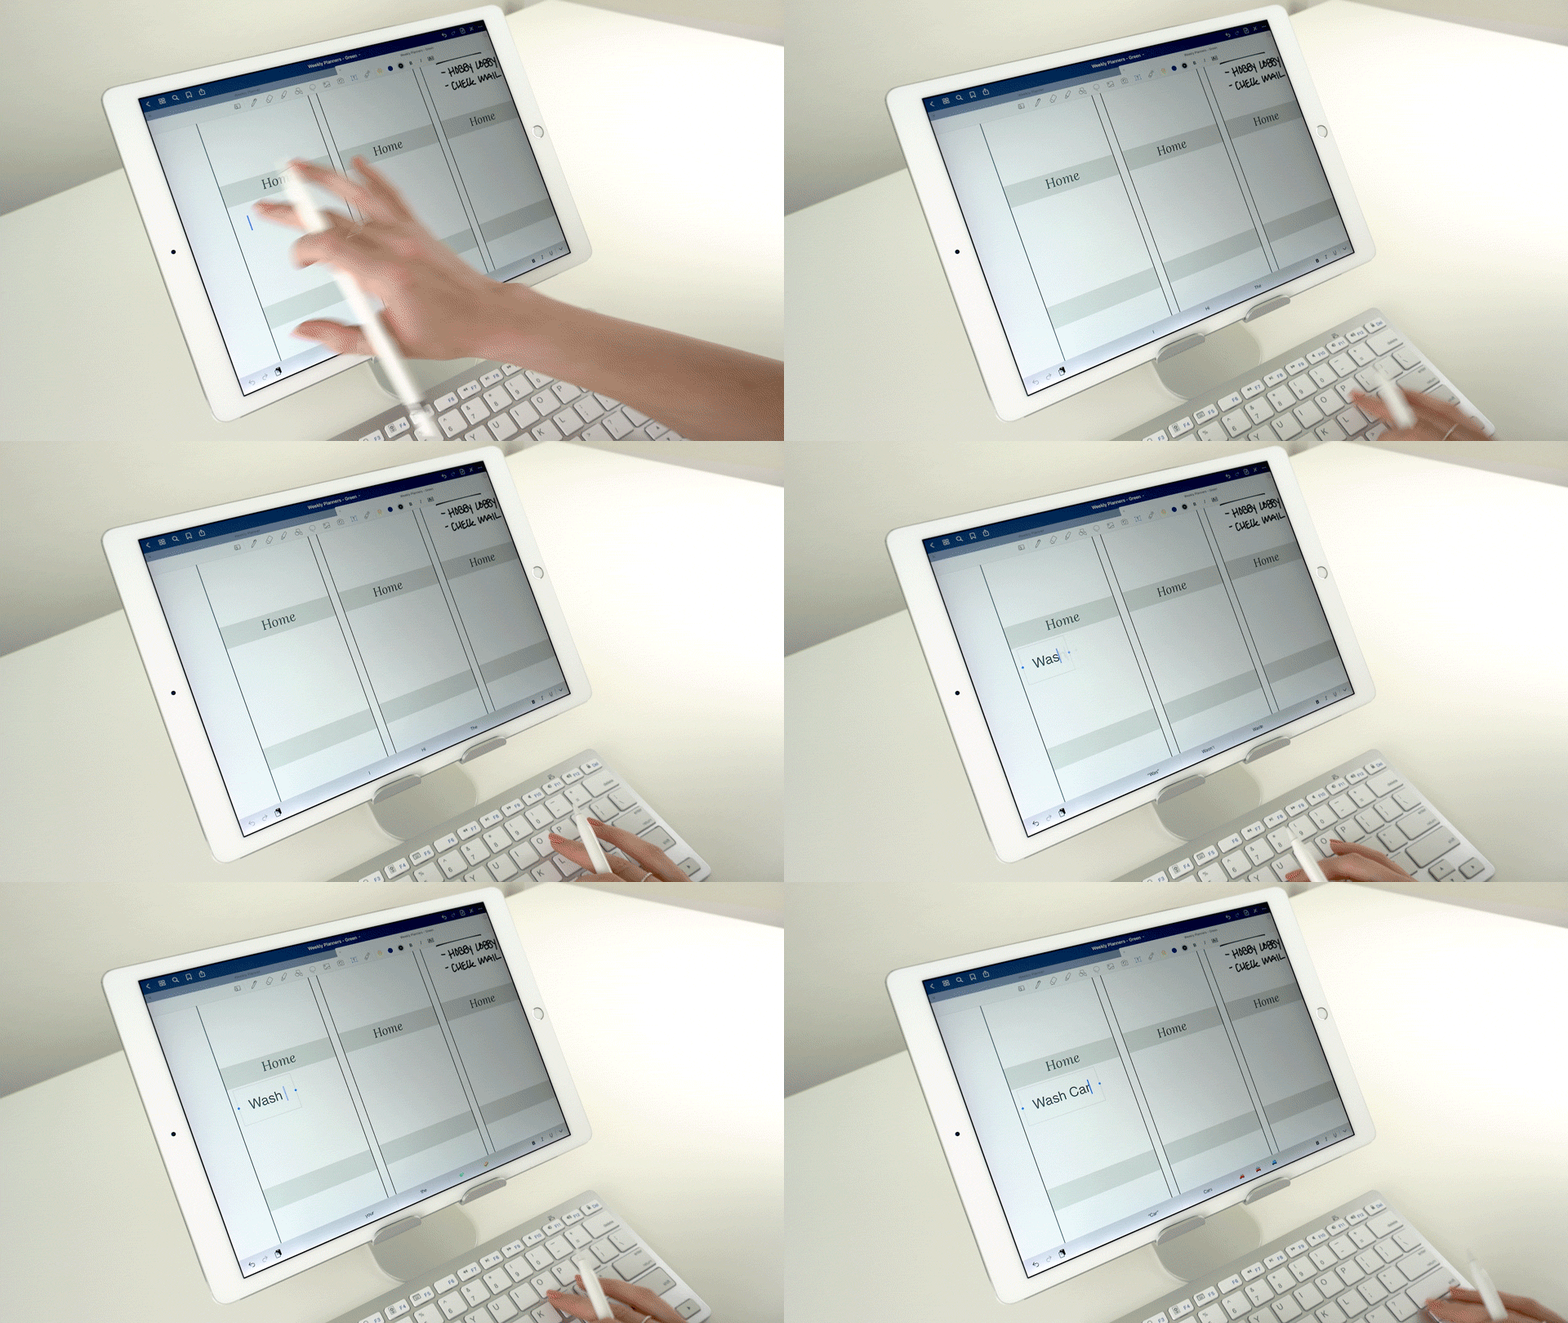
Use the Text Tool to add a type-able text box to the page. You can then type in custom text via the on-screen keyboard or a keyboard connected with Bluetooth. The type settings allow you to change the font, color, and size.
TIP: Save the full PDF as its own notebook in GoodNotes or your app of choice.
This way you have a “catalog” of templates to look through. When you find a template you’d like to use, simply copy the page and paste it into your active notebook.
2. On a Computer
Use the fillable text fields with type
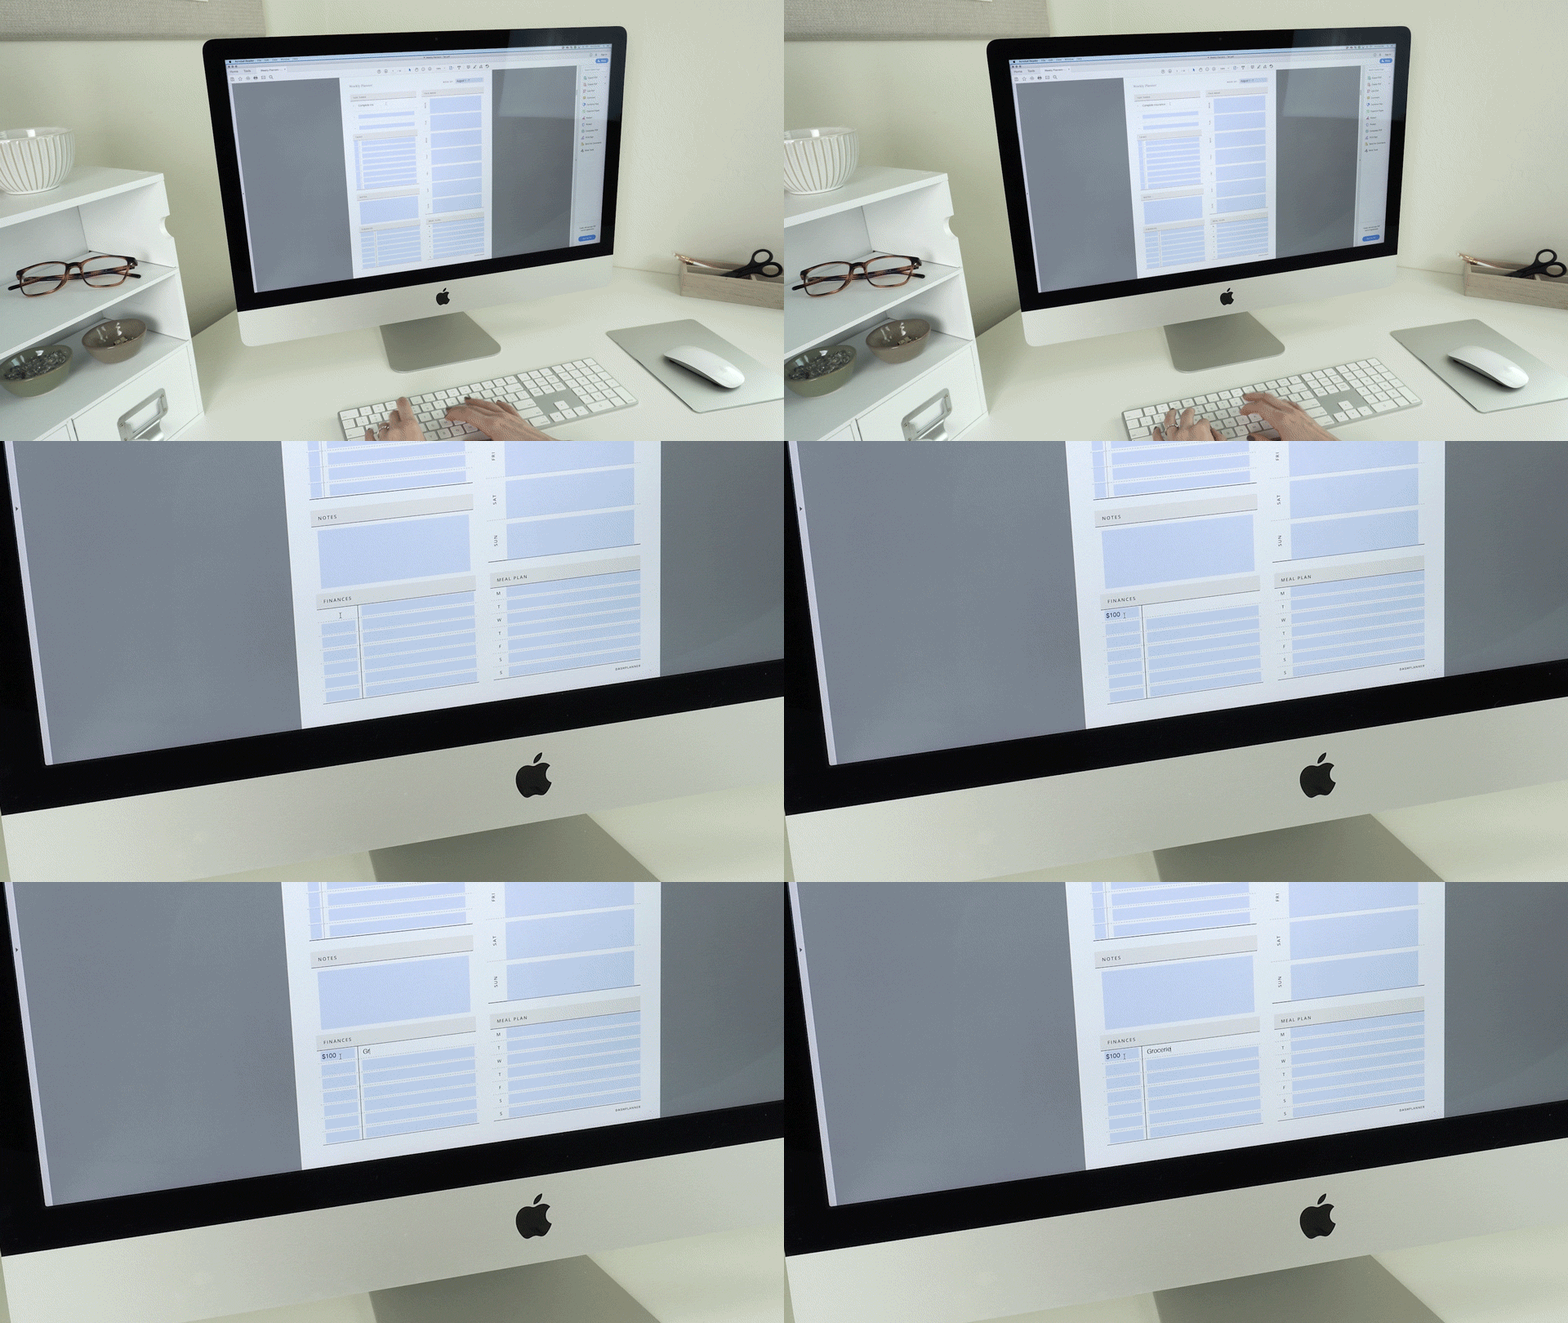
Some planning pages come with fillable text fields. This means, you can open the PDF in a program like Adobe Reader and quickly type into the fields to fill out the planning page. This is a great way to use the pages on a computer or for those who prefer to use their keyboard over a stylus.
If you’re using the pages on a Mac, you can use the program Preview that comes installed on all iMac and MacBooks. Simply open the PDF file in Preview and tap on a field to type in with text. You can also click on the interactive checklists to check off tasks on the lists. Saving this file in Preview will also save all text you have added.
Another option is to use Adobe Reader (download for free here). Opening the PDF in Adobe Reader will also allow you to fill in the fields with text.
Alternatively, you can open the PDF in a web browser to use it. You can open the file by clicking and dragging it to the desktop icon or browser’s search bar.
3. Printed on Paper
How to Print
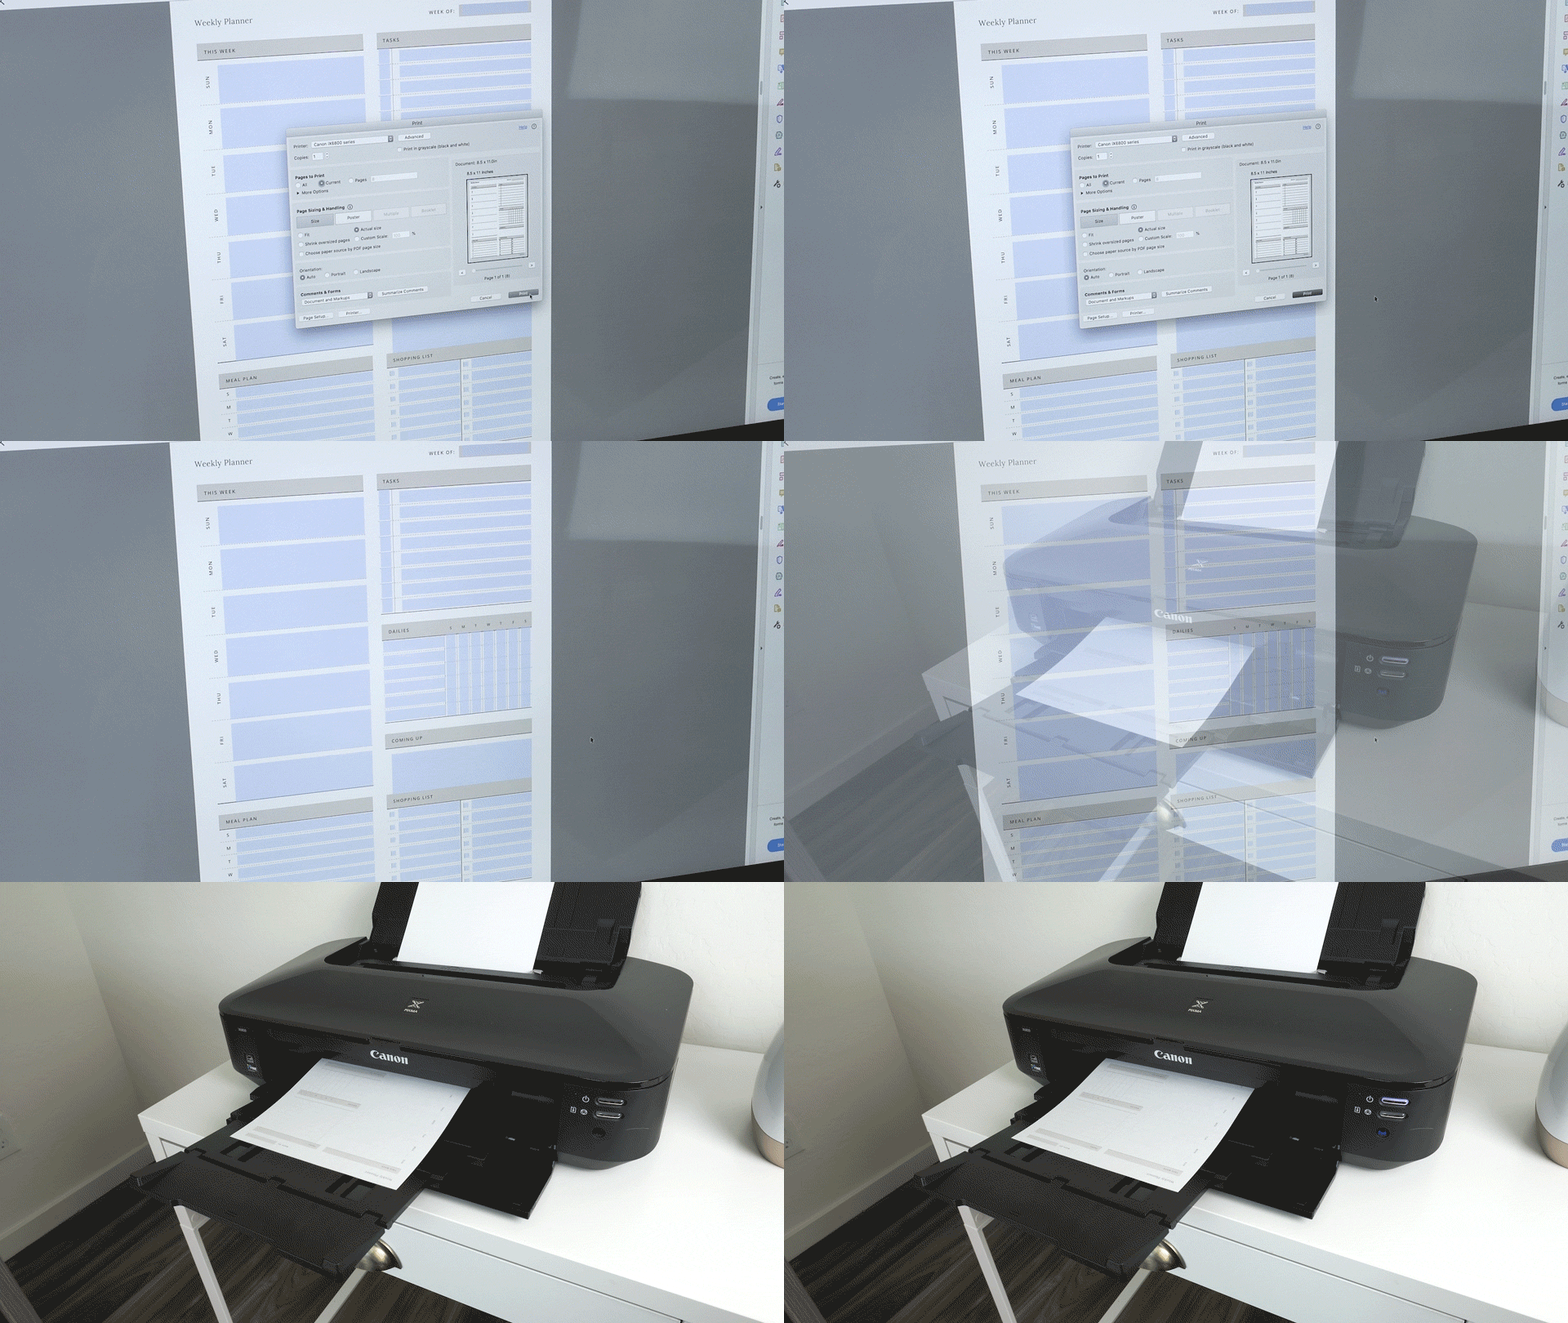
To print the planning pages, you will need to open the file in a PDF program. I recommend using Adobe Acrobat (download for free here).
Open either the US Letter or A4 PDF document, based on the size of paper you’ll be printing on.
In Adobe Reader, Go to File > Print…
In the print setting pop-up, make sure that under Paper Sizing & Handling that Actual Size is selected.
To print a specific page, enter the page number in the Pages box under Pages to Print.
Tip: Add text to the page before printing
Want to customize the printable with your own text? Once the page is open in Adobe Reader or similar program, you can add text to any of the sections before you print the page. This is a great way to items like recurring chores or tasks to the page, so it will appear on every printed copy.
Advanced: Customize the template’s text
Looking to customize the printable even further? If you currently have a subscription to the Adobe Creative Cloud software, you also have access to the paid version of the PDF reader, Adobe Acrobat. Open the template in Adobe Acrobat and right click anywhere on the page and select Edit Text & Images. You will see boxes appear around all the page’s text and you’ll then be able edit any of the printable’s text. This will allow you customize any of the page’s sections or headers with your own text. Initially, the text will be changed to Adobe’s standard font. If you want to get extra fancy, download the Google Font “Open Sans” to your system first, and your custom text will match font text used in the rest of printable.
Punch and Bind as Desired
Once printed, you can hole-punch and bind the page however you’d like. The pages are set with .5” inch margins that are suitable for most common punch types like 3-hole ring, discbound, and spiral. This allows you to keep the pages in your binder or notebook of choice. I like to keep my weekly planning page clipped in a clipboard and pinned up on my wall next to my computer. This way, I can keep my weekly schedule in sight whenever I’m at my desk.
We’d love to see how you use individual planning pages.
Take a snapshot of your planning page in use and share it with us over on Instagram tagging @dashplanner.
