
How to Add Stickers to GoodNotes Elements
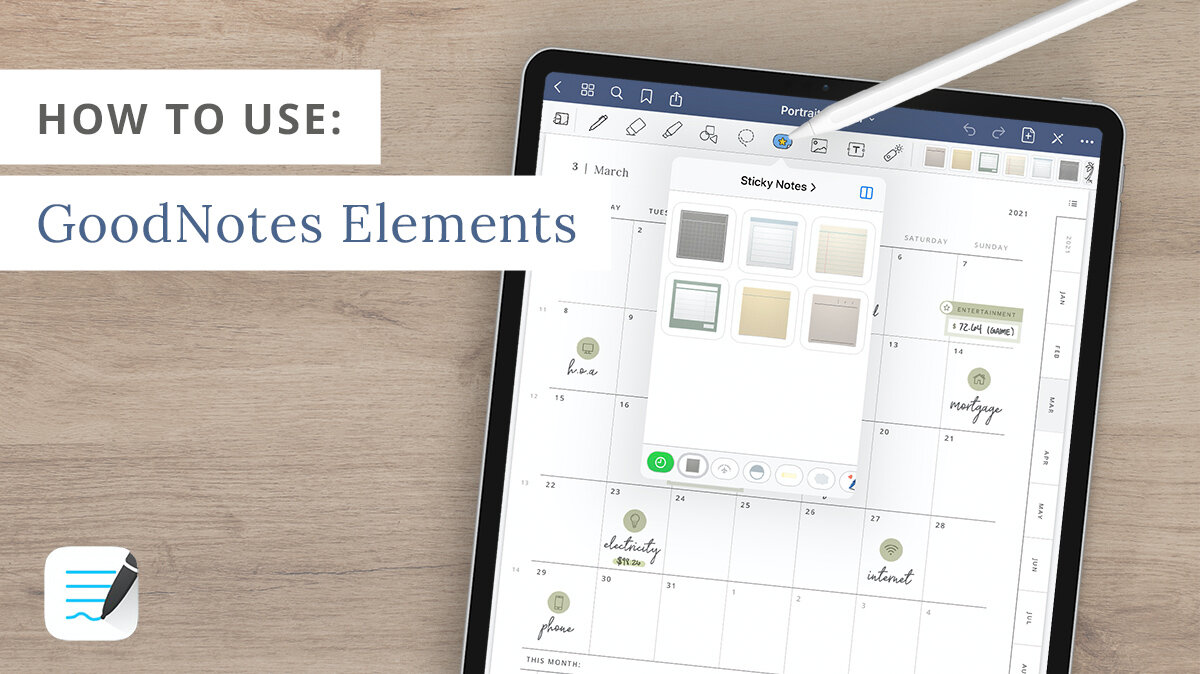
GoodNotes recently announced their latest addition to the app; the Elements Tool. This new tool allows you to save digital stickers, images, and drawings to a collection so you can easily import them into any document. Such a game-changer for anyone that uses digital stickers!
For the full scoop on Elements, you can check out this post on the GoodNotes blog.
In this demo, I’ll show you how to add your Dash Planner stickers to the Elements tab so you can easily use them in any notebook or planner.
Update GoodNotes to the latest version.
In order for the Elements Tool to appear in your toolbar, you’ll first need to update GoodNotes to the latest version. Head over to the App Store and update the app if the option is available.

Open a Sticker Book.
Open the Sticker Book that contains the stickers that you’d like to add to the Elements Tab. This is the GoodNotes file (.goodnotes) that has pre-cropped stickers to copy and paste (not the sticker sheet PNG).

Select a digital sticker to add.
Use the Lasso Tool to select a sticker from the sticker book. Tap on the selection and select Add Element. From here, you can choose to add the sticker to a current collection or create a new one.
If the only option is to Take Screenshot, tap on your Lasso Tool to open the lasso settings and turn on the Images option.

Option 2: Add stickers directly from individual files.
Our sticker sets also come with a folder of individual sticker files (.png) that you can import directly into the Elements tab.
From the Edit Collection menu, tap Import from… and select the individual sticker saved to your iPad’s files. Choose Add Photos if the sticker is located in your Photos.