
Changing Covers of Digital Notebooks and Planners
How to change the cover of your notebook or planner in the GoodNotes app. This tutorial includes changing the covers, installing them to your templates, and customizing them with digital stickers.
to get started:
Save Covers to iPad
First, you will need to download the cover files to your iPad. For further information on savings files to your iPad, you can check out our How to Download Files tutorial.
Most of our digital planners and cover sets come with a single PDF which contains all the cover options in one file. I've found this to be the most efficient way to organize and use cover files. From this single PDF file you can easily copy and paste the cover pages into your notebook.
Change Cover Using the Covers PDF
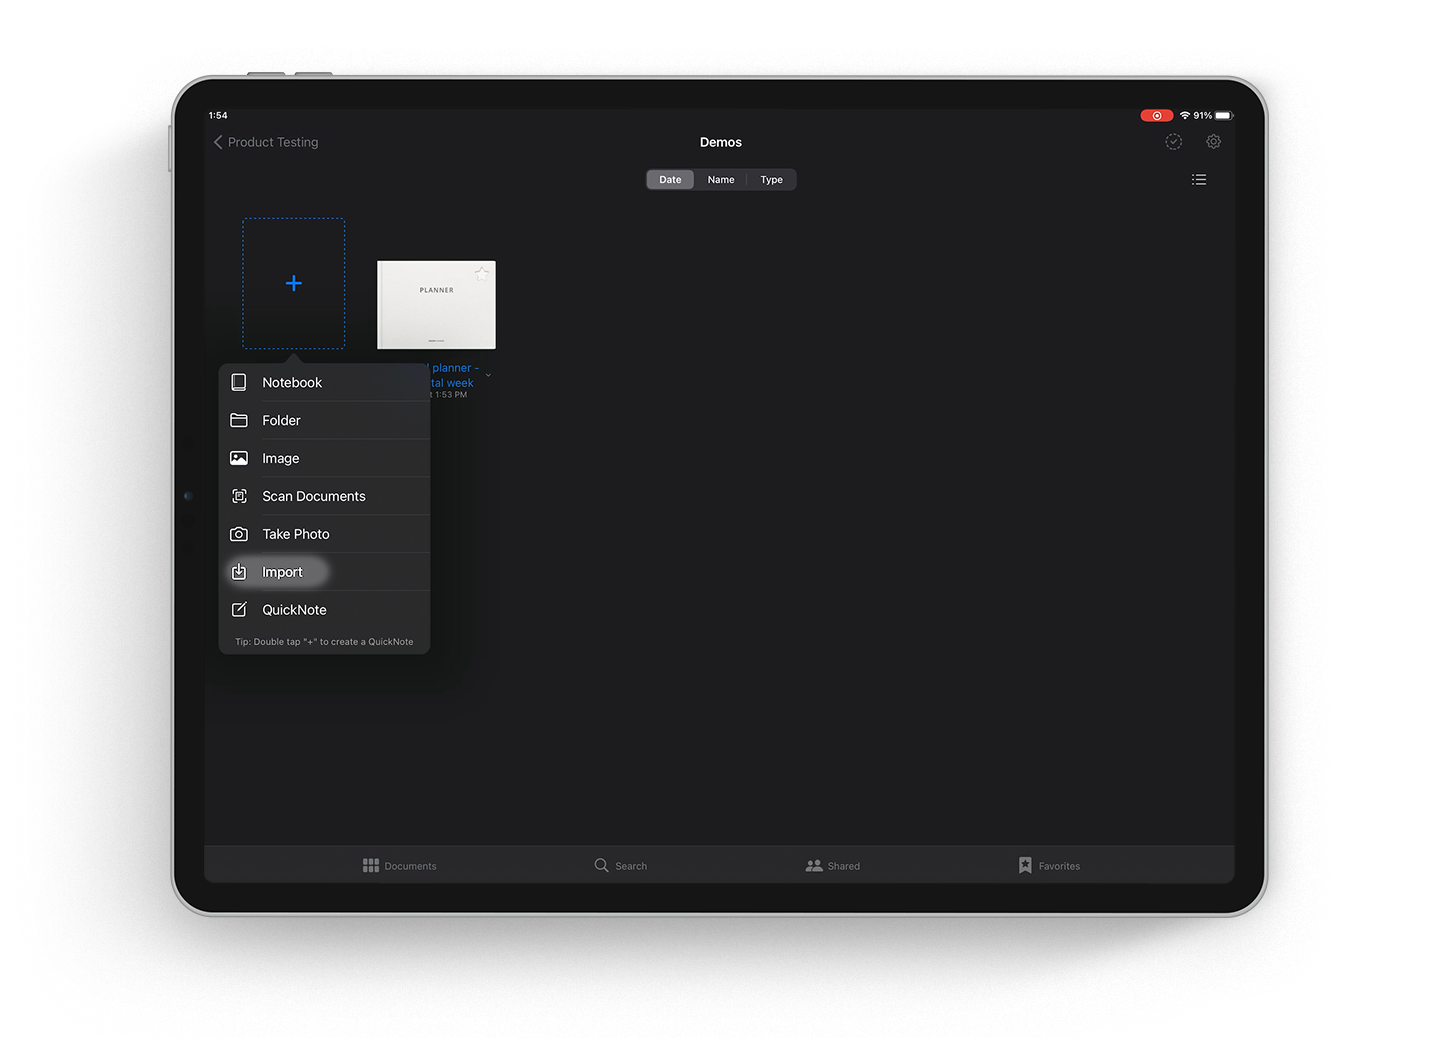
1. From the GoodNotes home screen, tap on the + icon and select Import.
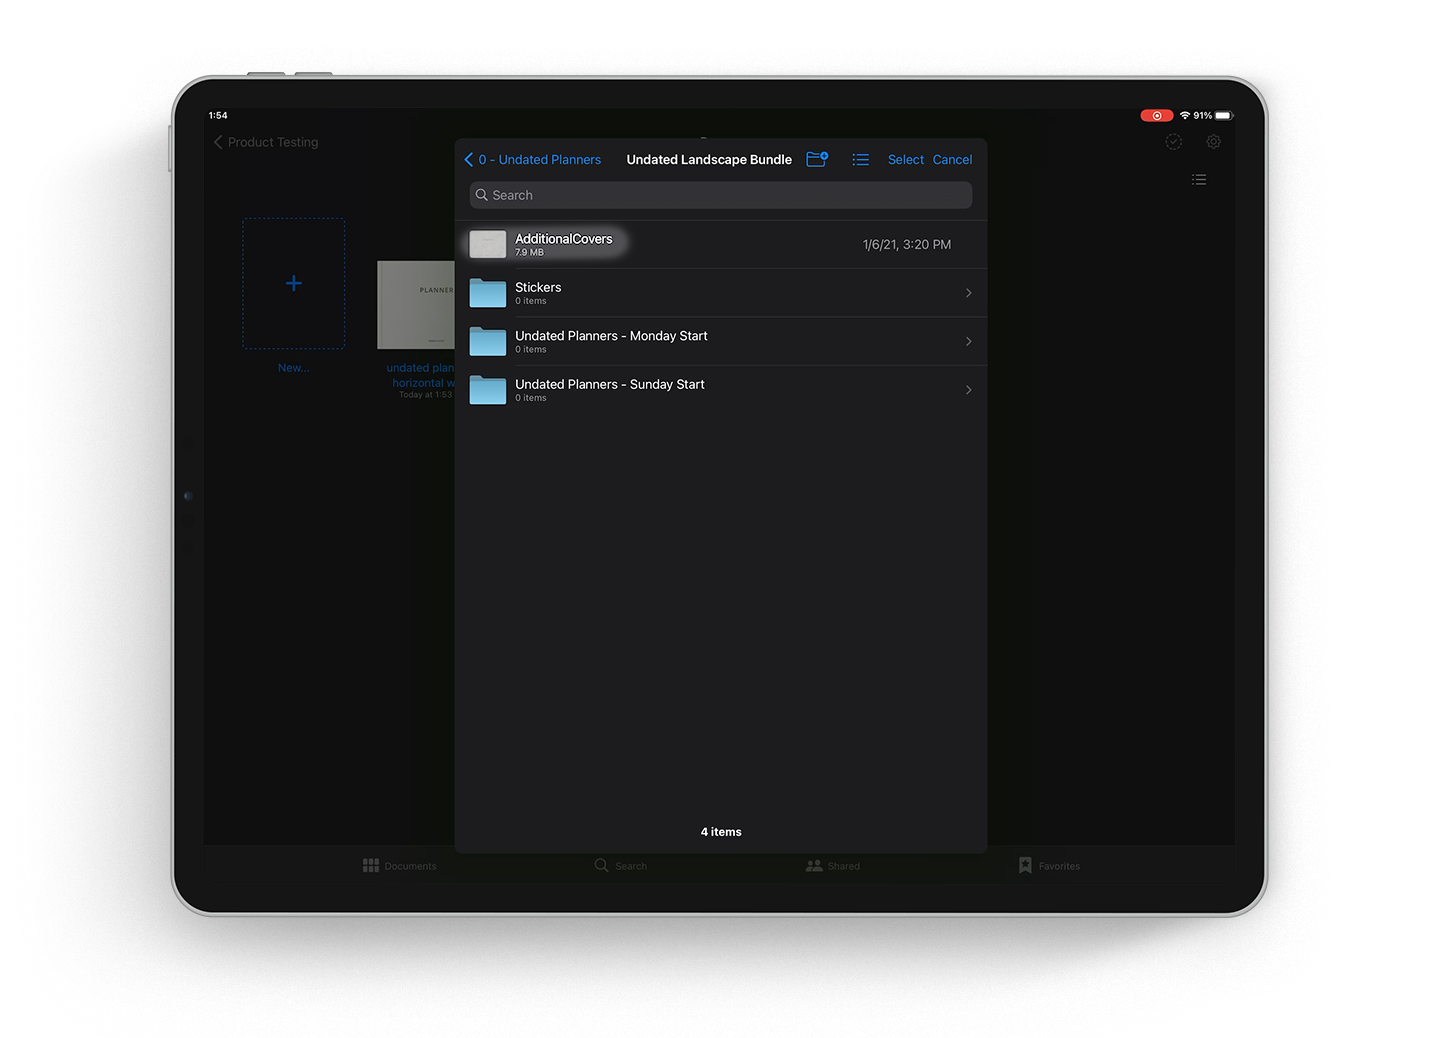
2. Select the additional covers .pdf file from your saved files
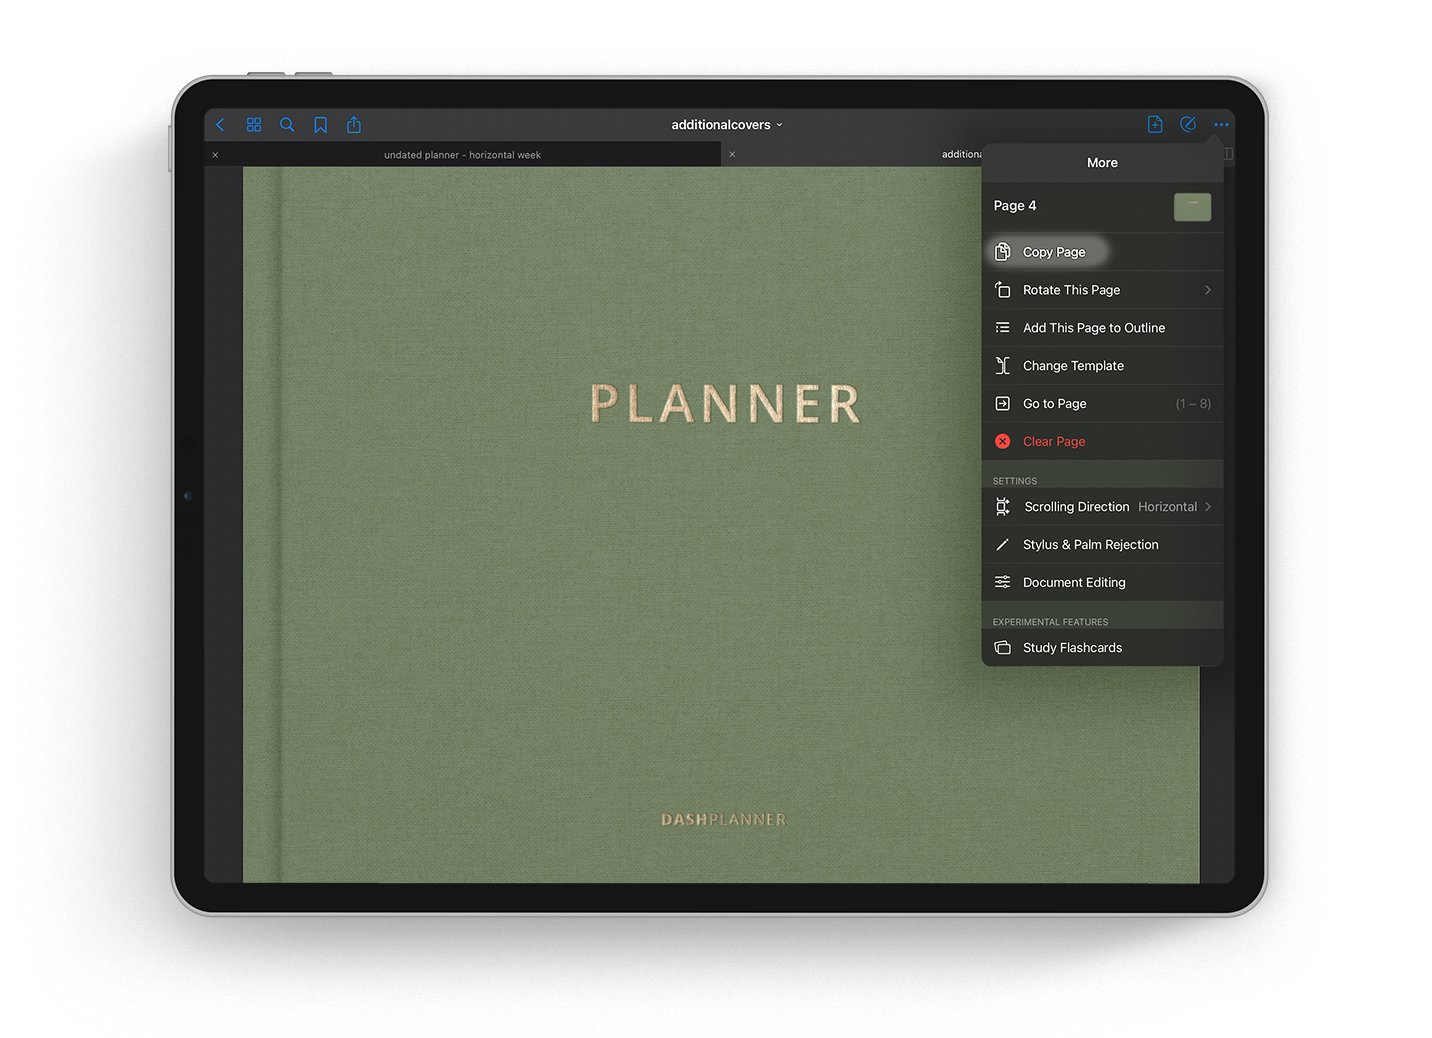
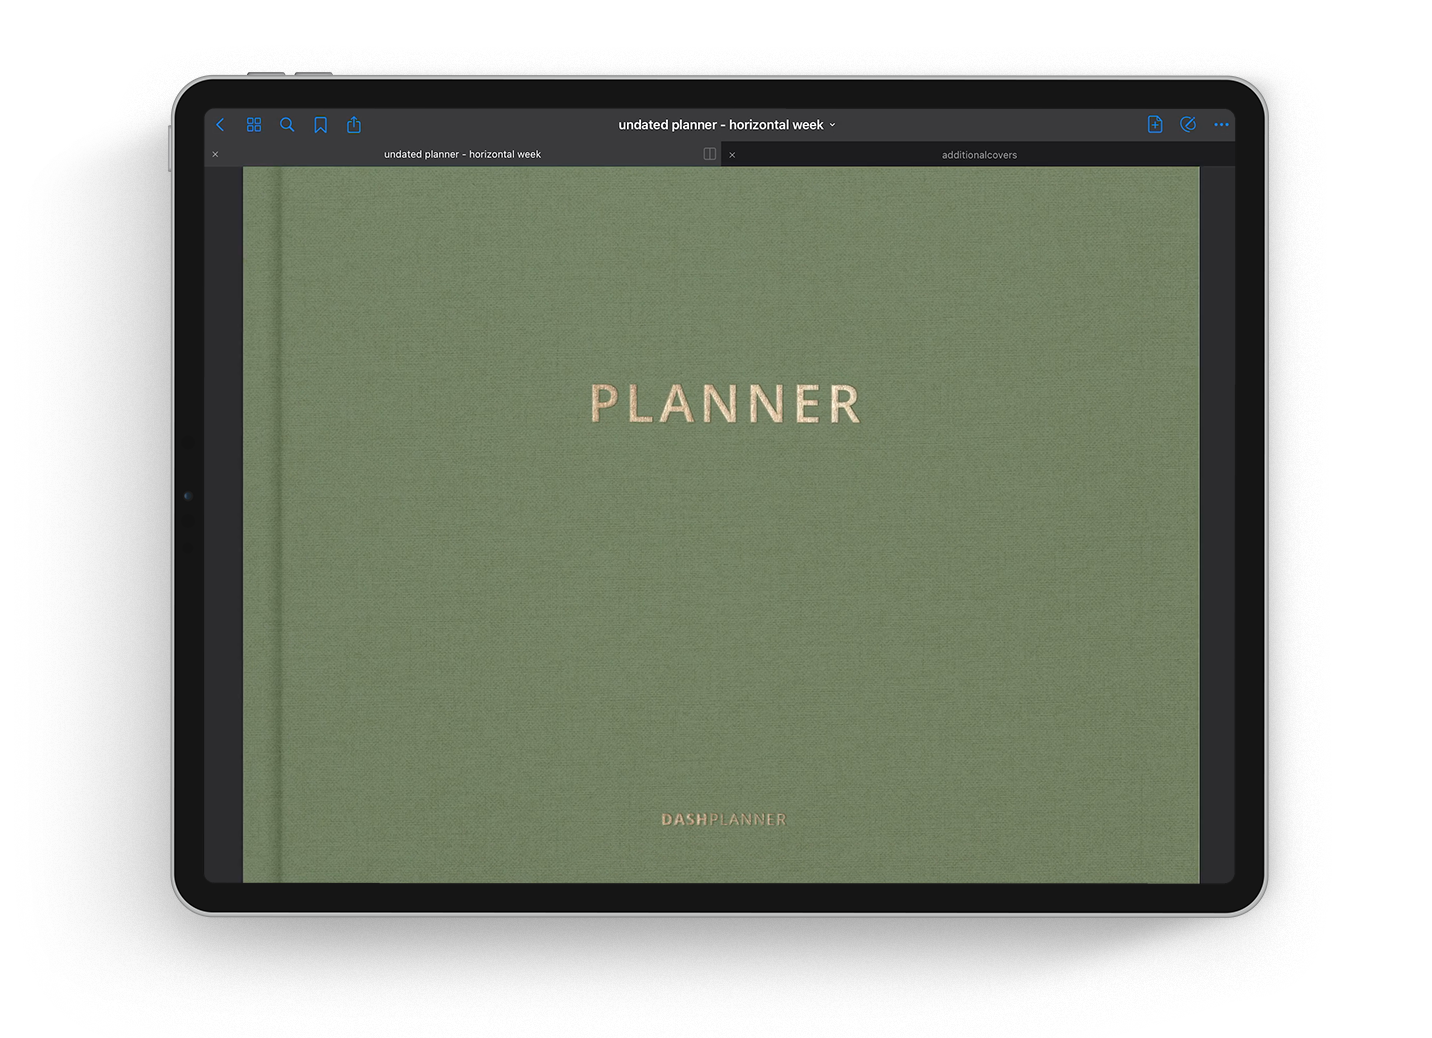
3. Navigate to your desired cover in the covers document and copy the cover page.
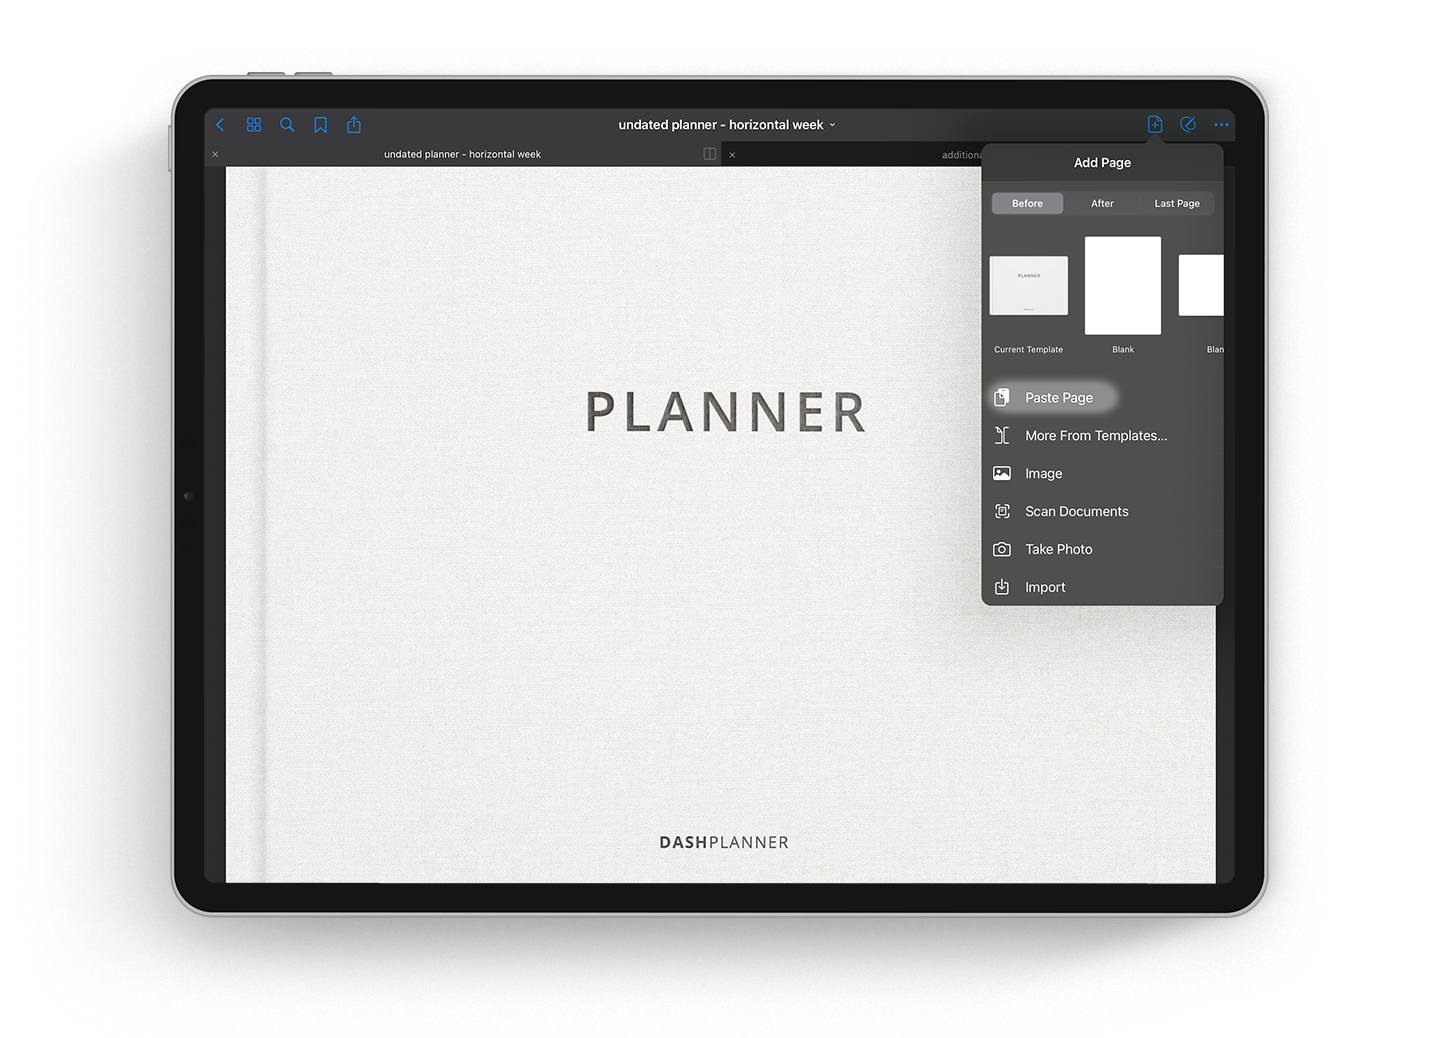
4. Open your original notebook and navigate to the cover. Paste the new cover.
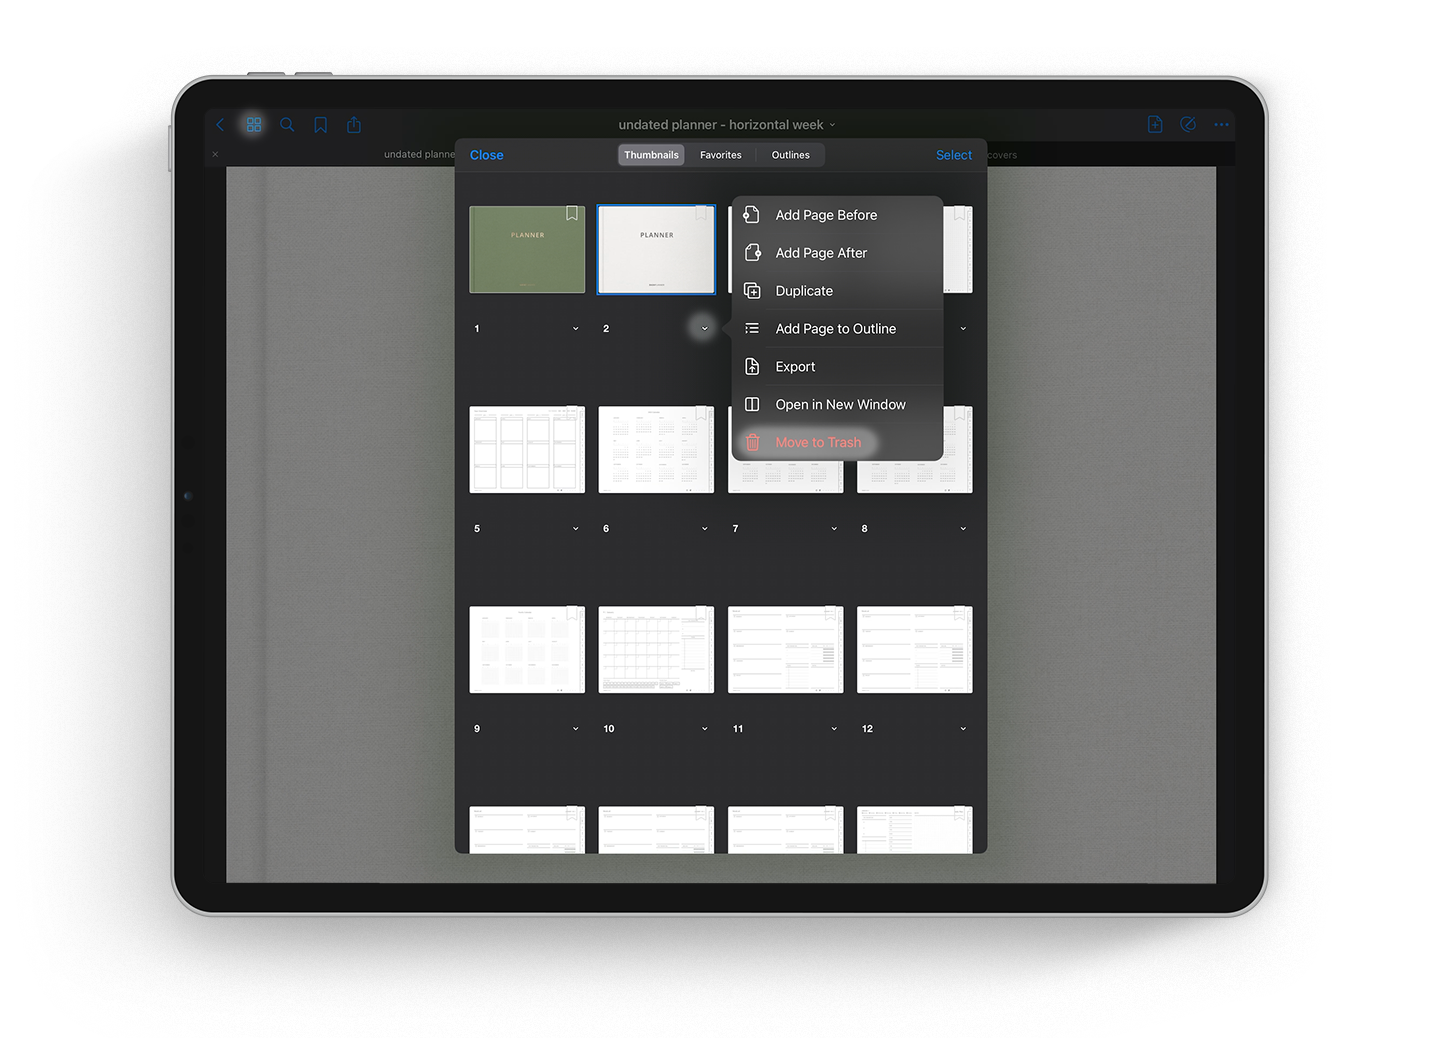
5. Open the Thumbnails Tab and delete the old cover.
The new cover has been set.

Digital Covers Set
If you purchased one of our Notebook Cover Sets, your download came with individual cover files. These individual files can be saved to the GoodNotes template library and easily accessed from any document.

SAVING A COVER TO THE TEMPLATE LIBRARY
1. Open GoodNotes to the Documents home screen.
2. Tap the Settings gear icon in the upper right corner and select Notebook Templates.
3. Tap the default cover at the top of the screen to open the template library for the covers.
4. Locate the group where you would like to add the cover and tap the Import icon.
5. Select From Files if your cover is saved to the Files App, iCloud, or Dropbox. Select From Photos if your cover is saved to the Camera Roll.

APPLYING A COVER FROM TEMPLATES
1. Open your notebook and swipe to the cover page.
2. Tap the • • • icon in the upper right of the toolbar and select Change Template.
3. Tap over to the Cover tab at the top of the screen. Select your cover from the templates and tap Apply to change the cover.
Using the Cover Stickers
Customizing Notebooks with Digital Stickers
The purchase of one of our Notebook Cover Sets also comes with a bonus sticker sheet for personalizing the covers. To use the label sticker sheet:
1. Locate the digital sticker sheet in the Files App, iCloud Drive, or Photos.
2. Open the sticker image and tap the Share icon. Tap Copy.
3. In your GoodNotes document, tap and hold anywhere, and select Paste.
4. Crop, resize, and move around the stickers as desired.
CROPPING GROUPED STICKER SHEETS
Once you have imported the sticker sheet using one of the methods above:
1. Tap and hold on the sticker sheet until the options bar pops up.
2. Tap Edit to enter editing mode.
3. Tap the sticker sheet again and select Crop. The Crop Tool window will pop up. Adjust the box around the sticker of your choice using either the rectangle or freehand selection tool.
4. Once your sticker is selected within the blue or green tool line, tap Done. You sticker is now cropped from the sheet and can be edited as needed.
EDITING STICKERS
Once you have imported the sticker:
1. Tap and hold on the sticker until the options bar pops up.
2. Tap Edit to enter editing mode. You’ll see the sticker has been selected and now has resizing and rotating handles.
3. Use the resizing and rotating handles to edit the sticker as needed.